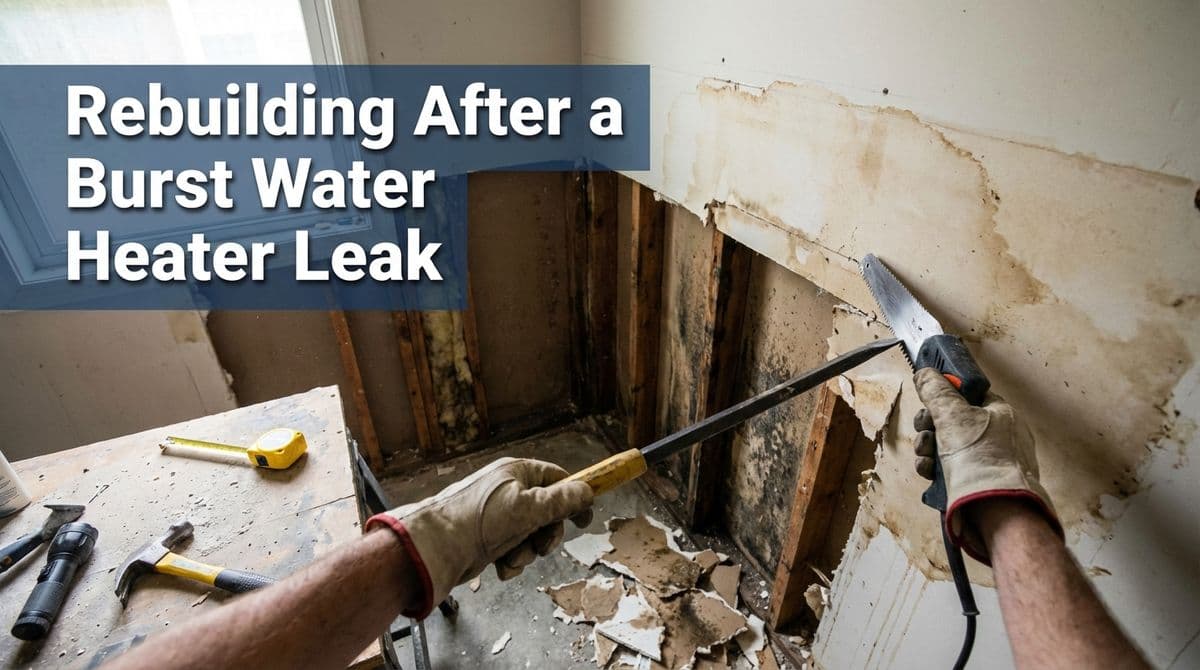
Rebuilding After a Burst Water Heater Leak
Had a water heater burst and now you’re down to studs and subfloor? Here’s what to know about drywall, flooring, and insurance on the rebuild.
When a Hidden Water Heater Burst Guts Your Home
We recently got a call from a homeowner — let’s call her Melissa — who had been through the wringer. Her water heater had burst inside a wall months earlier. By the time the leak was caught, the damage was extensive: wet drywall, ruined flooring, asbestos concerns, and mold.
By the time we talked, a mitigation company had already come in, gutted everything down to studs and subfloor, and cleared out the asbestos and mold. What was left? Bare framing, exposed subfloor, and a family living in what felt like a construction zone. Melissa’s question to us was simple:
“We just need drywall and flooring put back in, and we want someone our insurance will actually work with. What happens next?”
If you’re in a similar spot after a burst water heater, here’s how we typically walk homeowners through the rebuild process — from walls and floors to working with insurance.
Step One: Assessing the Rebuild (Beyond “Just Drywall and Flooring”)
When we walked through Melissa’s home, it looked “all tore up,” as she put it — studs, subfloor, and open ceilings in spots. That might sound overwhelming, but from a rebuild standpoint, it’s actually helpful. We could clearly see:
- Which walls had been removed or cut back
- Where plumbing and electrical ran
- How far moisture had originally spread
- What areas were ready for immediate rebuild
Even if the mitigation company says you’re “ready for rebuild,” we still like to confirm:
- All wet materials are gone (no damp insulation, baseboards, or tack strips left behind).
- Mold and asbestos clearance is documented (lab results or clearance letters).
- Subfloor is sound (no soft spots, delamination, or rot).
Once that’s confirmed, we can put together a scope: how much drywall needs hanging and finishing, where texture and paint are needed, and how much flooring is being replaced.
Rebuilding Drywall After a Water Heater Disaster
In Melissa’s case, the mitigation team had removed drywall up to a certain height on several walls. That’s common — they’ll cut out a strip at, say, 2 or 4 feet high. The trick on the rebuild is making sure those patches disappear visually.
Here’s what we focus on with drywall after a burst water heater:
- Matching existing thickness (usually 1/2" or 5/8").
- Proper fastening to studs and any added blocking for stability.
- Taping and mudding seams so there are no visible lines after painting.
- Texture matching — orange peel, knockdown, smooth, or anything in between.
If your home had a particular finish (like a light orange peel on the walls and a different texture on the ceiling), we’ll note that during the walkthrough so the repaired sections blend seamlessly.
Flooring: Using What You Have and What Insurance Covers
Melissa’s family already had new flooring material on hand. They’d bought it earlier to redo a kids’ bedroom and now wanted to use it for part of the rebuild. That’s more common than you might think — homeowners often have leftover boxes or pre-purchased material.
Here’s how we typically handle flooring after this kind of loss:
- Check subfloor condition: Any swelling, mold, or delamination gets addressed before new flooring goes down.
- Confirm product suitability: Make sure the material you have (laminate, LVP, hardwood, tile, etc.) is appropriate for the area and moisture history.
- Clarify insurance treatment: Sometimes insurance will pay labor only if you already have materials; other times they’ll allow a materials credit.
We also look ahead: if only part of a room is replaced, will the old and new flooring match? Will transitions between rooms look intentional? These details can affect both the estimate and what your adjuster is willing to approve.
Working With Insurance Without the Headaches
Melissa’s adjuster had actually asked her to find another contractor because of concerns with a prior restoration company on a different claim. That left her nervous about who insurance would “accept.”
Here’s how we try to make the insurance side smoother:
- Clear, detailed estimates: We itemize drywall, flooring, trim, paint, and any related work so your adjuster can see exactly what’s included.
- Explaining the numbers: We often record a walkthrough video of the estimate, explaining line by line what each item covers and why it’s needed.
- Direct communication: With your permission, we can work directly with your adjuster — sharing documents, photos, and videos instead of asking you to be the middleman.
We don’t use the same estimating software many big franchises use, but adjusters generally care more about clarity and justification than what program generated the numbers. When everything is documented and reasonable, most claims go through without major drama.
Questions to Ask Before You Hire a Rebuild Contractor
If you’re down to studs and subfloor like Melissa was, and you’re trying to pick a contractor, here are a few smart questions to ask:
- “Do you work with insurance claims regularly?” You want someone comfortable speaking the adjuster’s language.
- “Can you handle both drywall and flooring?” Fewer handoffs usually mean fewer delays.
- “How will you match my existing textures and finishes?” Ask for photos of similar projects.
- “What’s your timeline once insurance approves?” You’ve likely already been displaced for weeks or months.
And one more important point: make sure the contractor is okay with you already having some materials (like flooring) and understands how that factors into the insurance payout.
Practical Steps You Can Take Right Now
If you’re in the middle of a rebuild after a burst water heater, here are a few simple things you can do today:
- Gather all mitigation paperwork (mold/asbestos reports, drying logs, invoices).
- Take clear, well-lit photos of every affected area — wide shots and close-ups.
- Make a short list of questions for your contractor and your adjuster.
- Pull together any material receipts (flooring, paint, trim) you already purchased.
Rebuilding after a burst water heater is never fun, but with the right plan — clear scope, solid drywall work, properly installed flooring, and a contractor who can talk with your insurance — you really can get your home back to normal, and often looking better than before.